Adding an Area or Location
You can add an Area or Location when creating a project or add it before creating a project. An example of an Area may be a particular body of water, such as Lake Erie. Examples of a Location that falls under the Area of Lake Erie may include: Misery Bay and Niagara Boat Launch.
To add an Area or Location before creating a new project, complete the following steps. Also, an area must have a location associated with it before the system will let you submit a dive plan.
- Select “Settings” from the left side menu.
- Expand the select and choose “Locations”.
3. .Before adding a new location, be sure to review the list of locations already added.
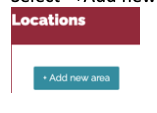
- Select “+Add new area” at the top middle of the page.
- Type in the location you wish to add in the “search map” field.
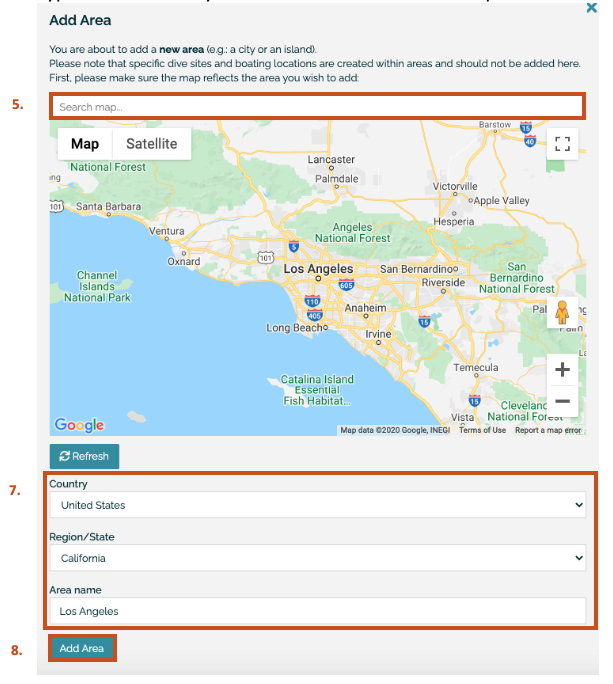
- Select “Next”.
- Confirm the Country and Region/State fields are accurate and assign the area a name.
- Select “Add Area”.
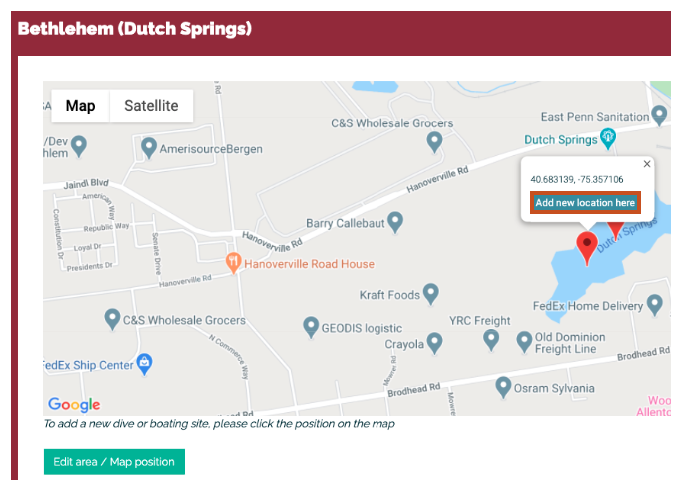
- To add a Diving Site to a Location, select “Edit area/Map position”
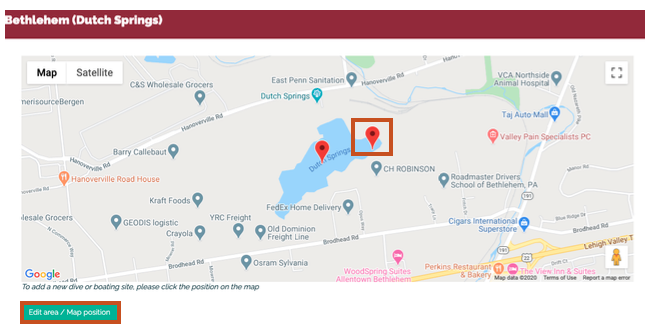
- Drop a pin at the appropriate location.
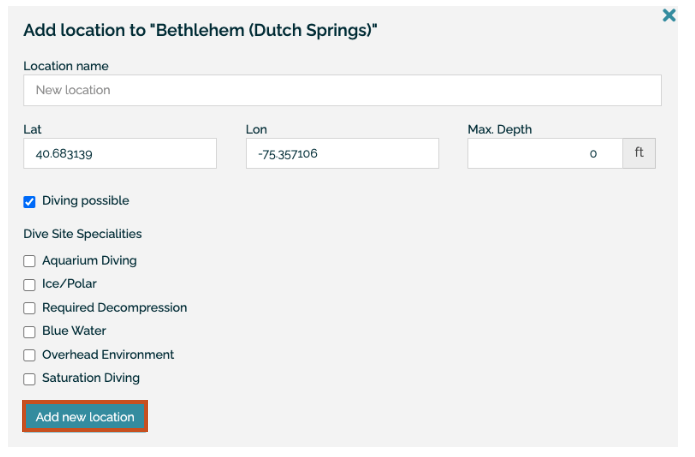
- Select “Add new location here”.
- Enter a name for the Location and adjust the Lat/Lon coordinates as necessary.
To add a Location to an already existing Area, complete the following steps.
- Select “Settings” from the left side menu.
- Expand the select and choose “Locations”.
- Select the icon under the “Action” column of the Area you wish to add a Location.

- Drop a pin at the appropriate location.
- Select “Add new location here”.
- Enter a name for the Location and adjust the Lat/Lon coordinates as necessary.